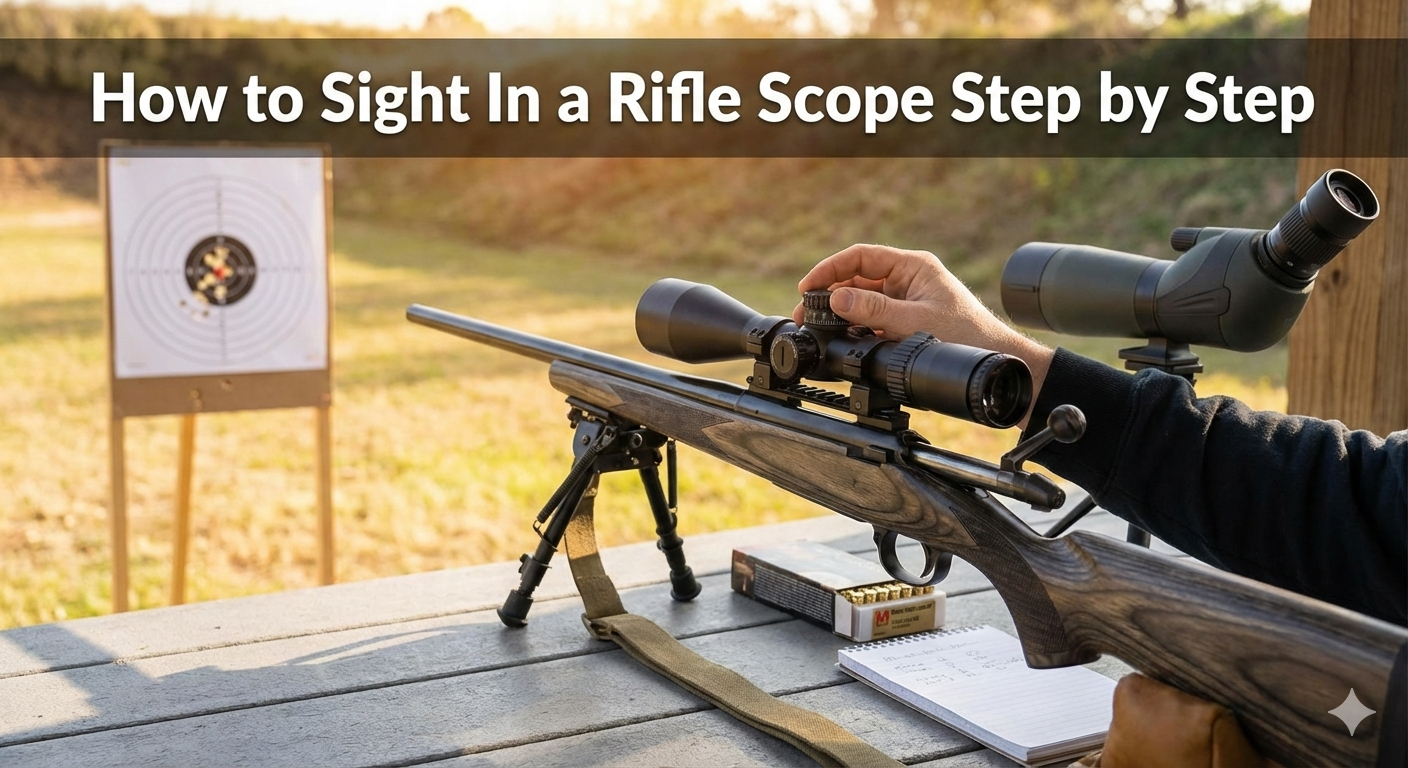
How to Sight In a Rifle Scope Step by Step – Complete Detailed Guide
Sighting in a rifle scope, also called zeroing, is the process of aligning your scope’s crosshairs with the actual point where the bullet hits the target at a chosen distance. When the rifle is properly zeroed, the place you aim and the place the bullet strikes will be the same.
Most hunters and general shooters choose a 100-yard zero because it offers a good balance between close-range and mid-range accuracy. Rimfire shooters may prefer 50 yards, while long-range shooters often use 200 yards or more. The zero distance you choose should match the type of shooting you plan to do most often.
Table of Contents
- Proper Scope Mounting and Alignment
- Bore Sighting to Save Time and Ammunition
- Building a Stable Shooting Position
- Initial Zero at a Short Distance
- Moving to Your True Zero Distance
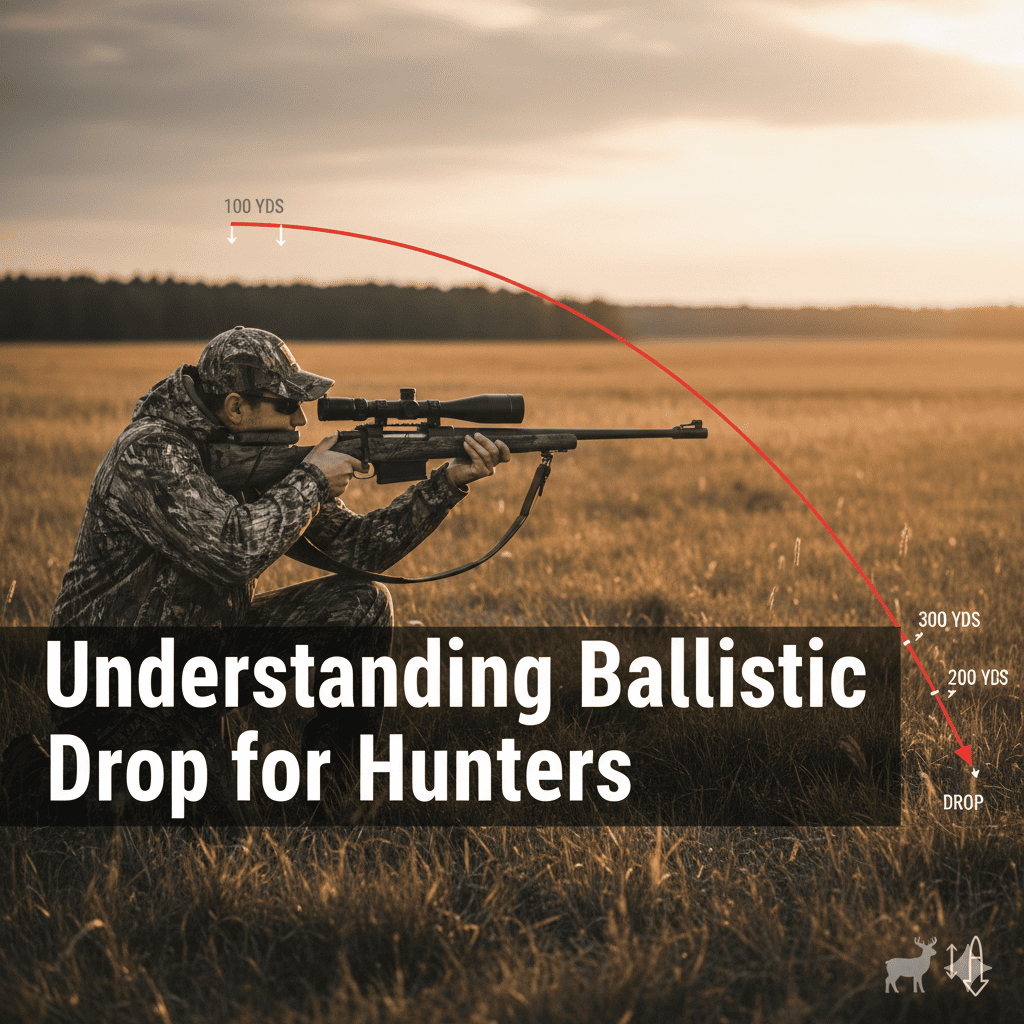
- Understanding Trajectory and Point of Impact
- Confirming with a Cold-Barrel Shot
- Securing and Recording Your Zero
- Final Thoughts
Proper Scope Mounting and Alignment
Before any shooting begins, the scope must be mounted correctly. The rings should be tightened evenly and torqued according to the manufacturer’s specifications so the scope does not move under recoil. The scope must be perfectly level with the rifle so the vertical crosshair truly tracks up and down and does not drift diagonally when you adjust elevation.
Eye relief should be adjusted so you see a full, bright image when the rifle is shouldered naturally, without dark edges or risk of the scope striking your face under recoil. A scope that is crooked, loose, or improperly positioned will never hold a consistent zero, no matter how carefully you adjust it.
Bore Sighting to Save Time and Ammunition
Bore sighting is the process of roughly aligning the scope with the barrel before live firing. With a bolt-action rifle, the bolt can be removed so you can look straight through the bore at a target placed about 25 yards away. By centering the target in the bore and then adjusting the scope until the crosshairs rest on the same point, you bring the optical and mechanical axes close together.
A laser bore sighter inserted into the chamber or muzzle can achieve the same result more quickly. This step ensures your first shots will land on the target paper rather than completely missing it.
Building a Stable Shooting Position
A stable shooting platform is essential for accurate zeroing. The rifle should rest on a solid bench with the fore-end supported by sandbags or a quality rifle rest, and the buttstock supported by a rear bag. Your body should be relaxed, your cheek weld consistent, and your trigger press smooth and straight to the rear. The goal is to eliminate as much human movement as possible so the point of impact reflects the rifle and scope, not shooter error.
Initial Zero at a Short Distance
Begin with a target at 25 yards. Fire a slow, careful three-shot group while aiming at the center of the target. Do not adjust the scope after each shot. Instead, look at the group and find its center, which represents the true point of impact. Compare this center to your point of aim.
If the group is low, dial the elevation turret up. If it is to the right, dial the windage turret left. Scope adjustments are made in clicks, usually ¼ MOA or 0.1 MRAD per click, and the turret markings indicate the direction and value of each adjustment.
Moving to Your True Zero Distance
Once the group is centered at 25 yards, move the target to your intended zero distance, typically 100 yards. Fire another three- to five-shot group, again focusing on consistency and proper trigger control. Measure how far the group center is from the bullseye and adjust the scope accordingly.
Make small, precise corrections rather than large changes. Continue the process of shooting groups and adjusting until the center of your group coincides exactly with your point of aim.
Understanding Trajectory and Point of Impact
At 100 yards, the bullet’s trajectory is influenced by velocity, bullet weight, and ballistic coefficient. Even a small change in ammunition can shift the point of impact. This is why final zeroing should always be done with the exact ammunition you plan to use for hunting or competition. Once you change bullet type or weight, you should confirm or redo your zero.
Confirming with a Cold-Barrel Shot
After your rifle has been zeroed and allowed to cool completely, fire a single shot from a cold barrel. This shot should land at or extremely close to your point of aim. For hunters, this is critical, because the first shot in the field is often the only shot that truly matters. A rifle that prints its first cold-barrel shot away from the zero may need further fine-tuning.
Securing and Recording Your Zero
When you are satisfied with your zero, lock the turrets if your scope has locking mechanisms. Record your zero distance, scope settings, ammunition type, and environmental conditions such as temperature and altitude. This information allows you to quickly return to your zero if the scope is bumped, adjusted, or removed.
Final Thoughts
Sighting in a rifle scope step by step is a process that rewards patience and precision. From mounting the scope correctly and bore sighting, to shooting stable groups and making careful turret adjustments, each step builds toward a rifle-scope system you can trust. When done properly, zeroing gives you complete confidence that when the crosshairs settle on the target, the bullet will strike exactly where you intend, whether you are hunting, competing, or practicing at the range.